
 Tap to enlarge
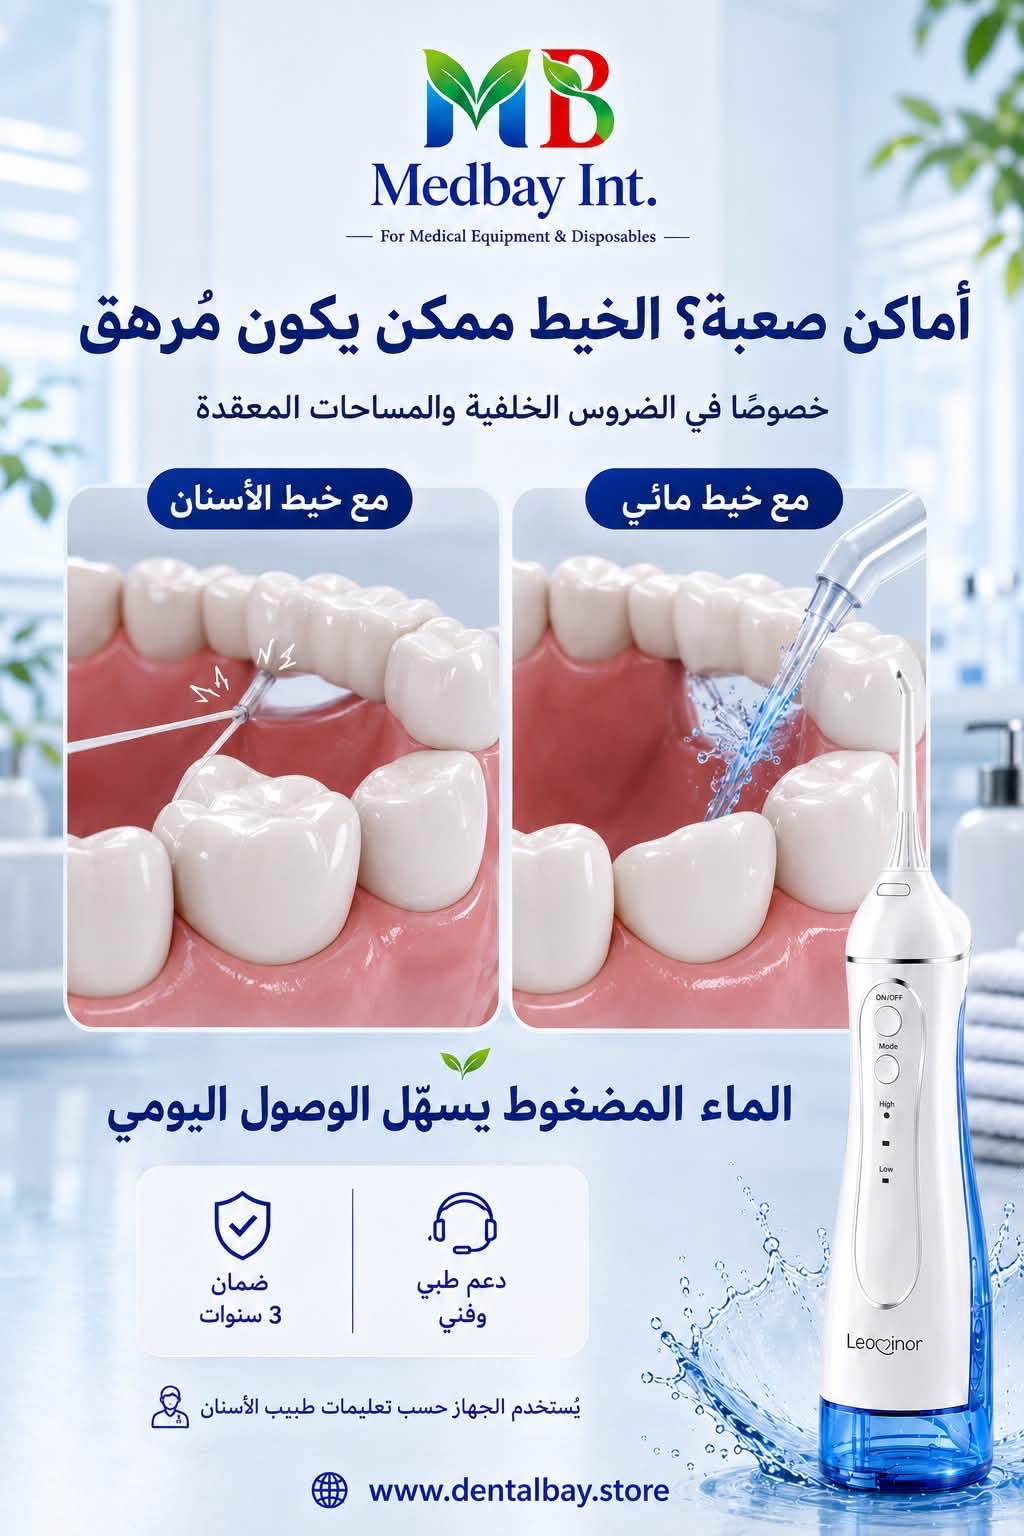
Between teeth and around back molars
A directed stream helps dislodge food from spaces between and around teeth.
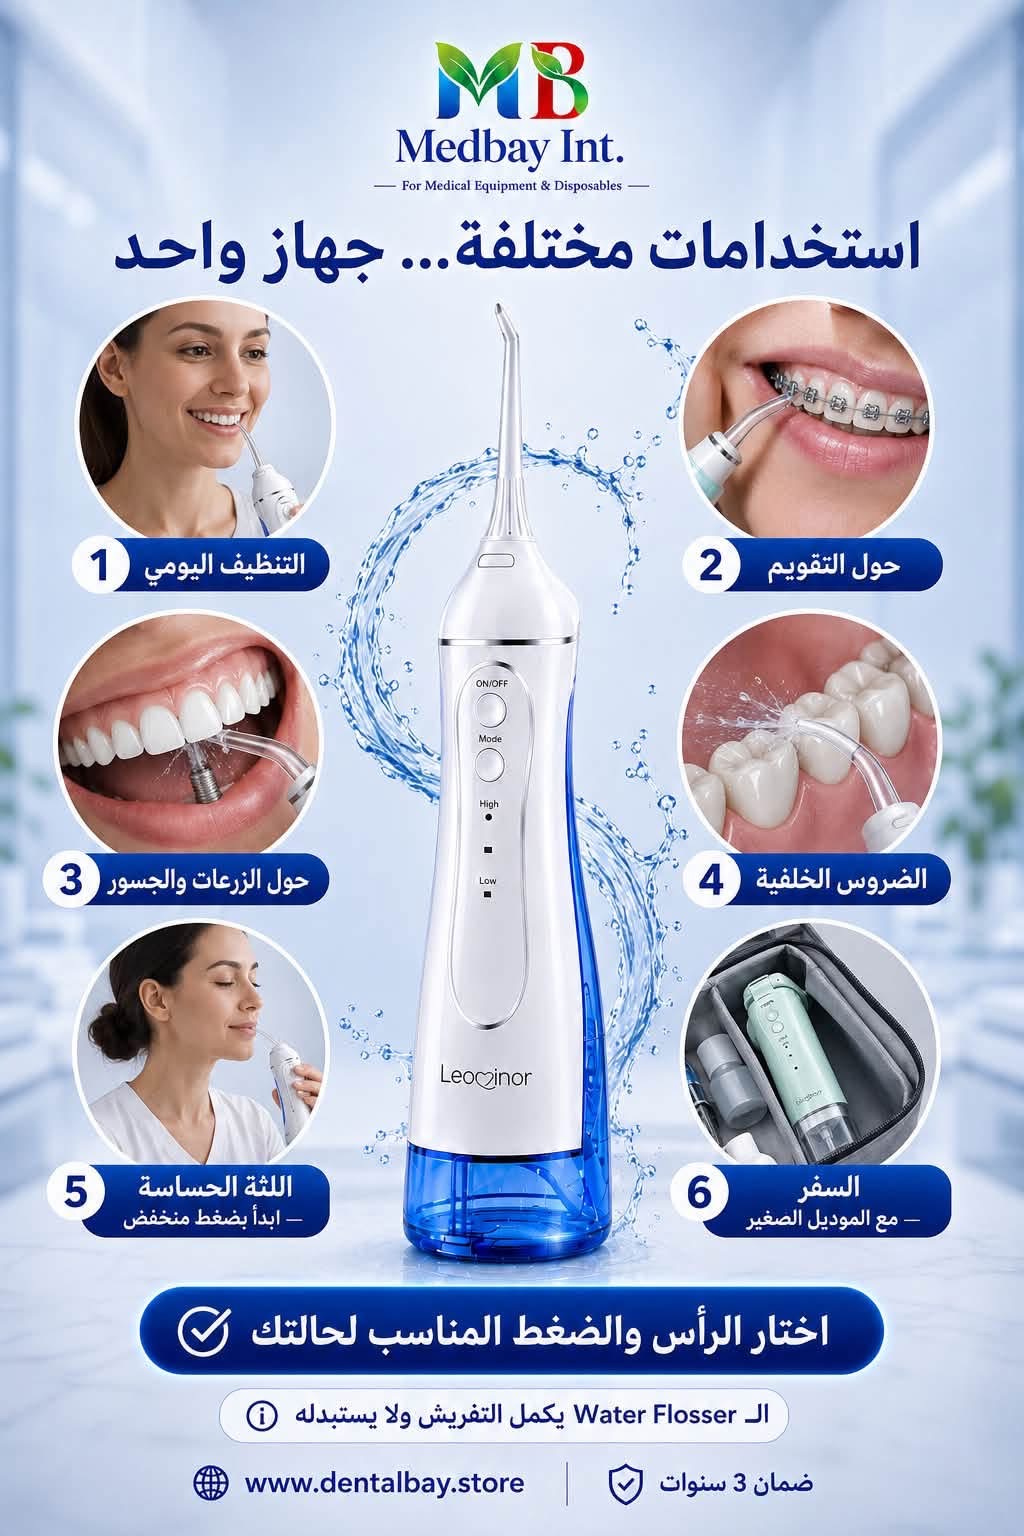
Explore the benefitsUnderstand what a water flosser adds to your routine, who may find it useful, and how to start.
Tap to enlarge the image
Tap to enlargeA directed stream helps dislodge food from spaces between and around teeth.
Explore the benefits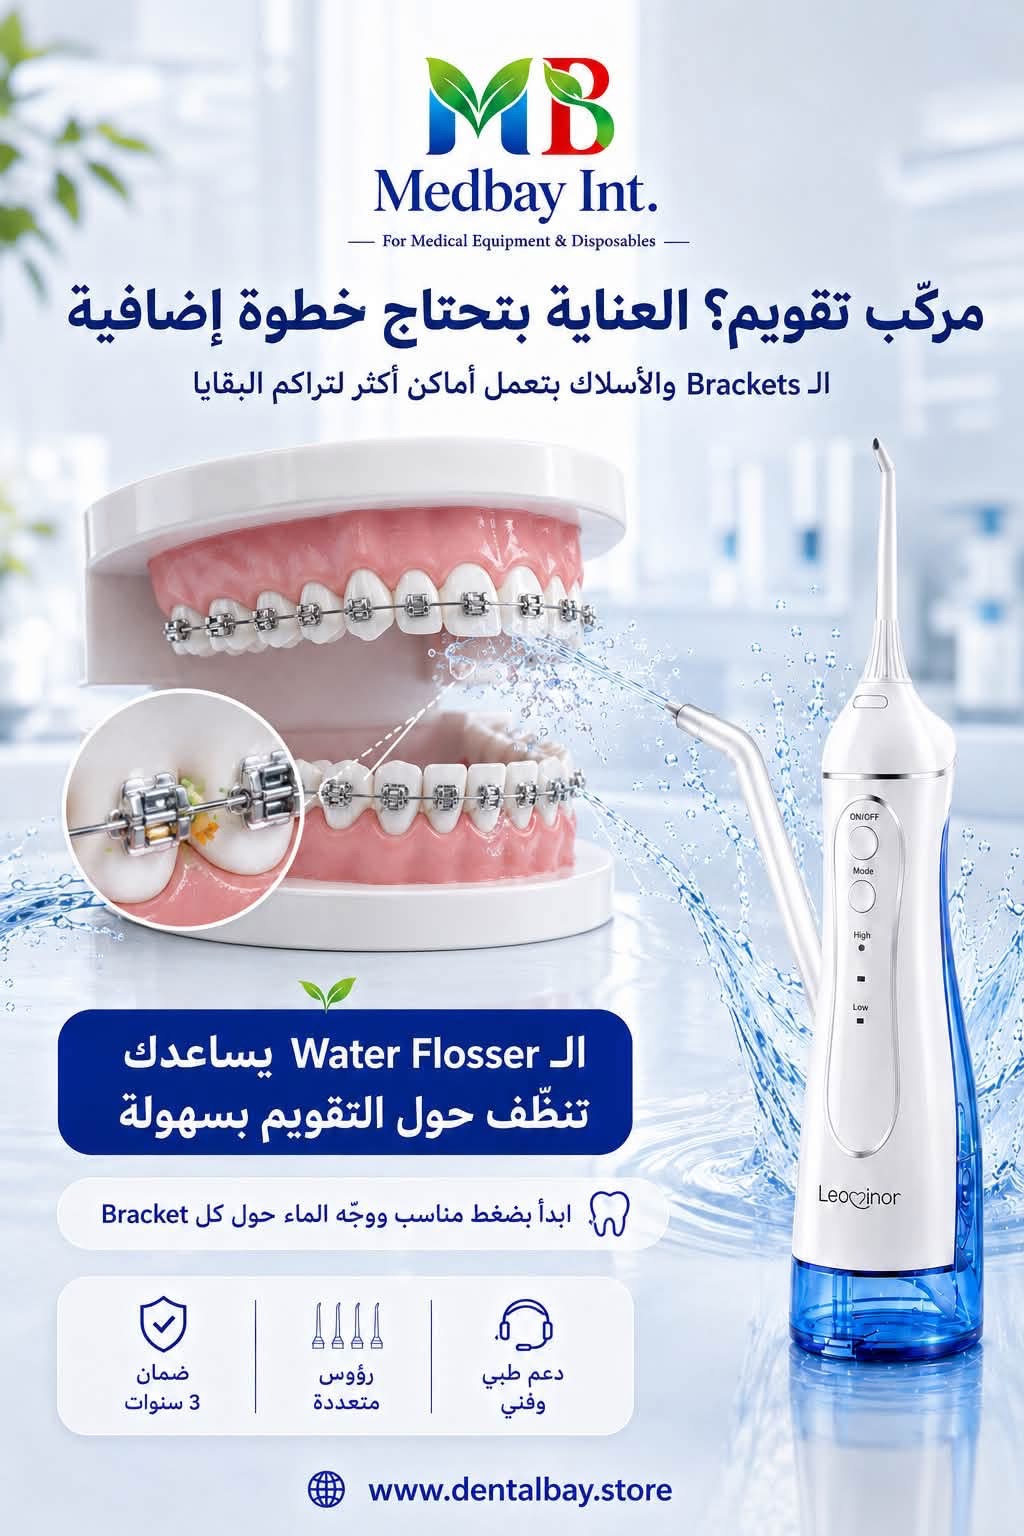 Tap to enlarge
An option when brackets, wires or fixed dental work make hand flossing difficult.
Care with bracesClean between teeth daily, alongside brushing twice a day for two minutes.
Understand the differenceThe posters show oral-care uses, not measured before-and-after outcomes. Choose an interdental cleaning method with your dentist.
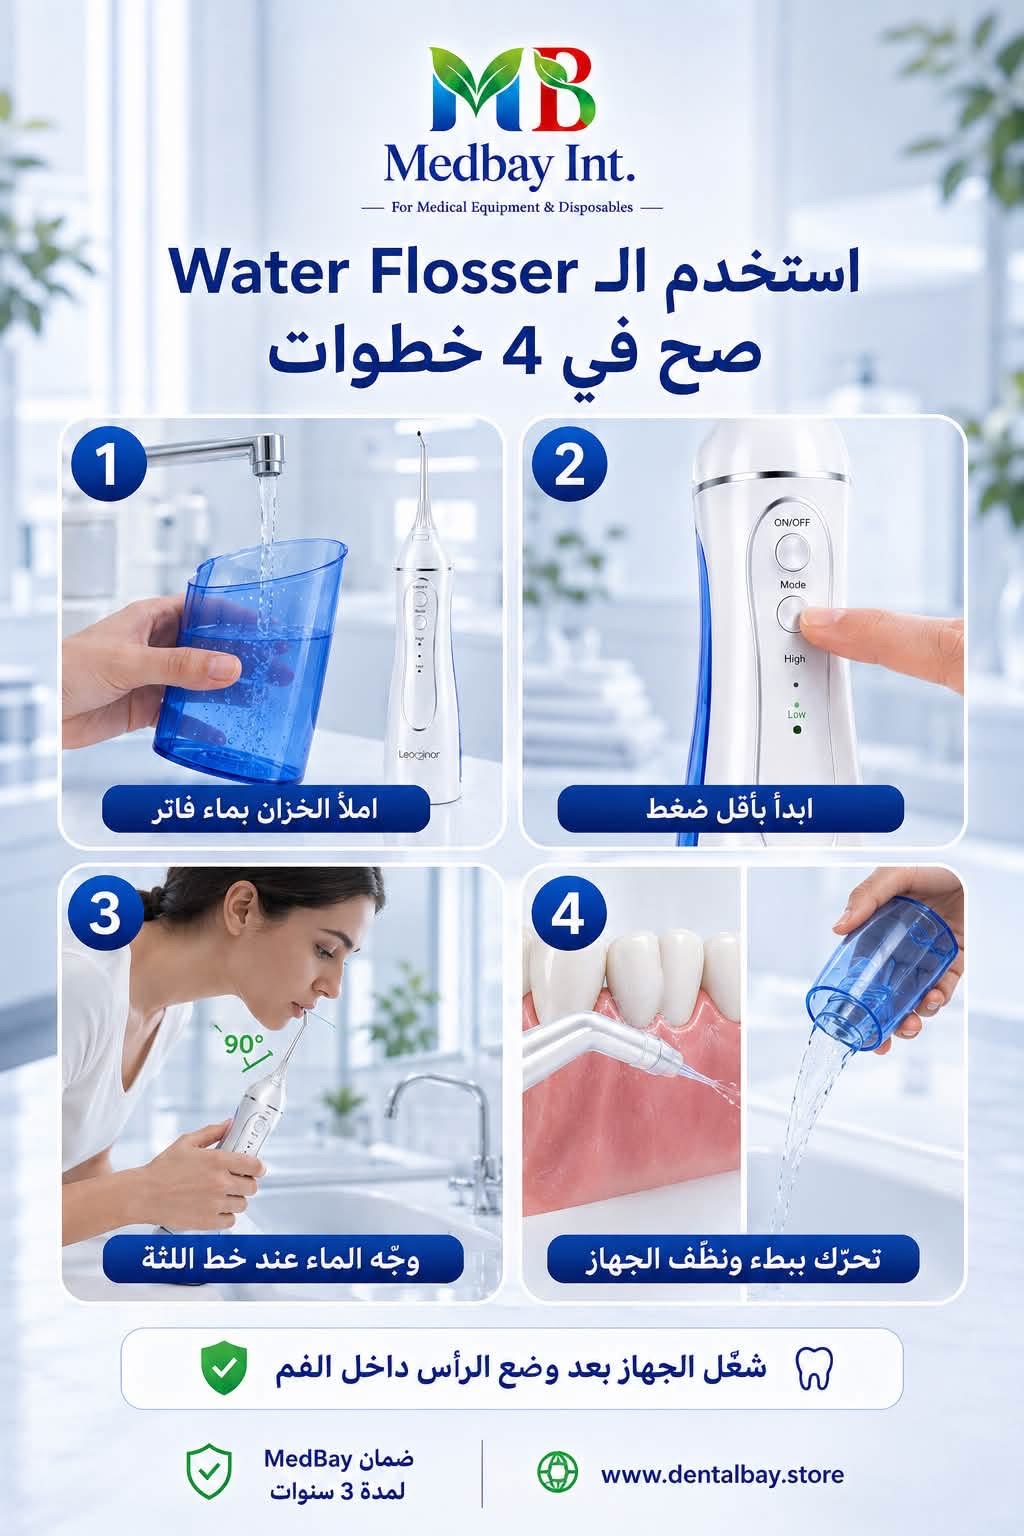
Use clean lukewarm water and fit the correct tip with the device off.
Lean over the sink and place the tip in your mouth before switching on.
For a standard tip, aim towards the gumline and pause briefly between teeth.
Turn off before removing the tip. Empty and clean the reservoir as instructed.
A water flosser does not replace brushing, remove hardened tartar, or change the internal colour of teeth. Persistent bleeding, pain or swelling needs a dental assessment.
Choose the right tipContent checked on 17 November 2026. Illustrations explain the general technique; follow the instructions for your exact device.